Dry Canning Potatoes: Is It Safe? What the USDA Says
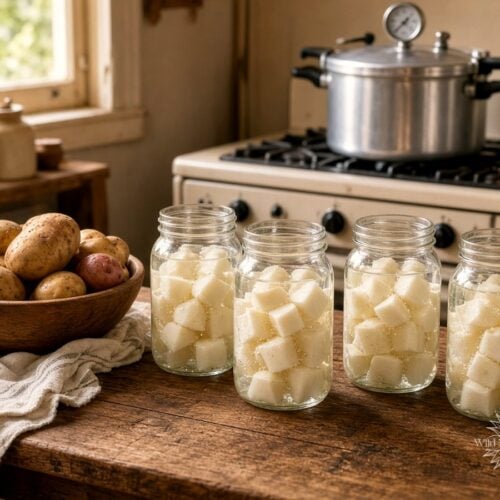
Dry canning potatoes looks like a clever homestead shortcut: pack raw potatoes into mason jars with no liquid, run them through the canner (or even the oven), and stack a winter’s worth of hash browns in the pantry.
I understand the appeal. Potatoes take up a lot of space, and nobody wants a mushy jar. But this is one of those trends I can’t get behind, because the USDA and the National Center for Home Food Preservation say it isn’t safe.

Disclaimer
This post contains affiliate links. This means we may earn a commission should you choose to sign up for a program or make a purchase using these links. There is no added cost to you but your purchase through these links helps support our content! Not to worry- I truly believe in and/or use everything I promote! As an Amazon Associate I earn from qualifying purchases.
We also utilize advertisements on many of our articles. This is simply a way to help support all the work we do here at Wild N Free Farms, without adding any extra cost to our readers. Check out our disclaimer and disclosure page for more details.
In this post, you’ll learn what people mean by dry canning potatoes (there are actually two different methods floating around), why both of them fall short of a tested process, and the USDA way to pressure can potatoes in liquid so they’re actually shelf-stable. I’ll also share a few other safe ways to put a big potato harvest by, from the root cellar to the freezer.
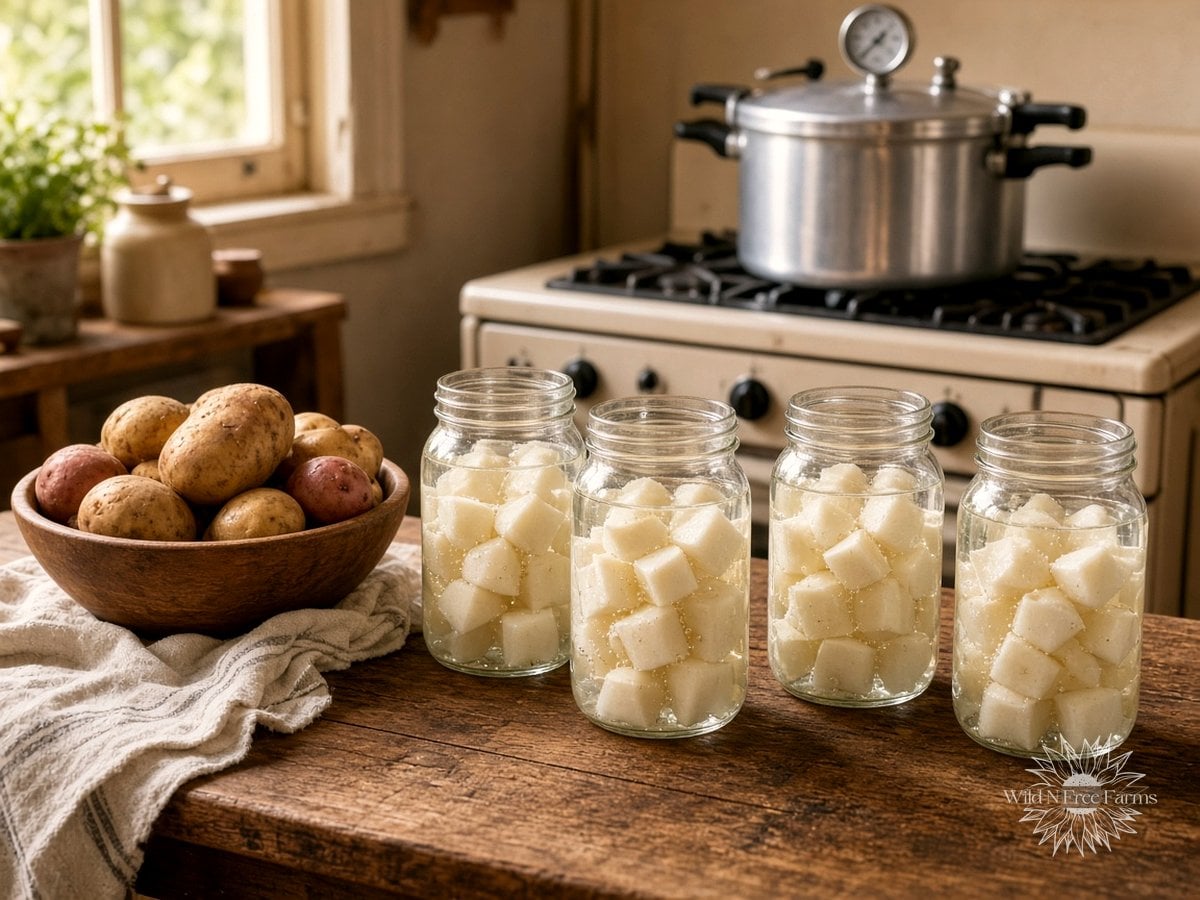
What Is Dry Canning Potatoes?
When people say they’re dry canning potatoes, they usually mean one of two things, and neither one is a USDA-tested method.
1. Pressure Canning Potatoes With No Liquid
This is the version showing up most in videos right now. Raw or blanched potato pieces go into a mason jar with no water (sometimes with a pat of butter or ghee), the lid goes on, and the jars are processed in a pressure canner for the same time used in the official potato recipe.
2. Oven “Dry Canning”
The other method isn’t really canning at all. Dried food, or sometimes potatoes, goes into jars, and the jars are heated in a conventional oven (often around 200°F) until the lids seem to vacuum-seal. Some people do this with flour and beans, too, and call it dry canning.
Both methods are popular because the jars look tidy and the potatoes aren’t sitting in liquid. The problem is that a sealed lid is not the same thing as a process that’s been tested to kill the bacteria we’re actually worried about.
Is Dry Canning Potatoes Safe? What the USDA Says
The short answer is no. The National Center for Home Food Preservation has a clear warning: dry canning raw vegetables is an unsafe practice. Potatoes are a low-acid food, and the official USDA process was tested with the potatoes covered in liquid. That liquid is not optional.
Here’s why that matters:
- Heat Has to Reach the Center of the Jar: The process times we have for potatoes assume water is surrounding every piece. Without that liquid, heat does not move through the jar the way the research expected.
- Dry Heat Is Less Effective: Bacteria and bacterial spores die more slowly in hot dry air than they do in hot water. Using a “wet” process time on a dry jar is not a like-for-like swap.
- The Risk Is Botulism: Clostridium botulinum spores can survive under-processed low-acid food and produce a toxin that can be fatal. The CDC notes that home-canned vegetables are the most common source of botulism outbreaks in the United States, and that the toxin can be present with no off smell, no bubbles, and no change you can see.
- Butter or Ghee Doesn’t Fix It: NCHFP is specific about this too. Fat is not a substitute for the water the process was tested with, and it shouldn’t be added to the jars even when you are using liquid, unless a tested recipe calls for it.
- Oven Canning Isn’t Recommended Either: USDA and NCHFP do not recommend processing jars in a conventional oven, microwave, or dishwasher. A major canning-jar manufacturer also doesn’t support heating their jars and lids in a dry oven. NCHFP’s post on why dry canning isn’t canning explains that a lid may seal while moisture pockets and oxygen are still trapped inside, and that there is no researched shelf life for food packaged this way at home.
If you already have jars of dry-canned potatoes on the shelf, please don’t taste them to “see if they’re fine.” When there’s any doubt about a low-acid home-canned food, the safe choice is to throw it out.
Dry Canning Potatoes: Myth vs. Fact
| The Claim | The Fact |
|---|---|
| Dry canning is just a drier version of the USDA potato method. | The USDA method was tested with fresh boiling water covering the potatoes. Leave the liquid out, and you no longer have that tested process. |
| If the lid seals, the food is safe. | A vacuum seal is not a sterility test. Botulism toxin can be present in a sealed jar with no visible signs of spoilage. |
| Oven dry canning is a smart way to store potatoes or dry food. | NCHFP does not recommend heating canning jars in a dry oven as a preservation method, and there is no researched shelf life for it. |
| A long water-bath boil will make potatoes safe. | Potatoes are low-acid. Pressure canning is the only recommended method for canning them. |
| An electric multi-cooker can replace a pressure canner. | Electric pressure cookers are not recommended for canning low-acid foods. Use a stovetop pressure canner that holds at least four quart jars upright on the rack. |
| Butter or ghee can stand in for the water. | NCHFP says fat is not a substitute for the required liquid. |
Stay Up To Date
Enter your name and email to subscribe to our weekly newsletter, announements and freebies!
The Safe Way to Can Potatoes
The good news is, you don’t have to give up pantry jars of potatoes. You just have to can them the way the process was tested: peeled, hot-packed, and covered with fresh boiling water in a stovetop pressure canner.
This is the National Center for Home Food Preservation method for white potatoes, cubed or whole, adapted from the USDA Complete Guide to Home Canning (Agriculture Information Bulletin No. 539, revised 2015). I’m not changing the preparation, the liquid, the headspace, or the process times. Those details are what make the jar safe.
A few rules that are easy to miss:
- Use White Potatoes: Select small to medium mature potatoes that are good for cooking. If you want them whole, choose potatoes 1 to 2 inches across. Potatoes stored below 45°F may discolor in the jar.
- Always Peel: The tested process starts with washed, peeled potatoes.
- Hot Pack Only: Cubes are boiled for 2 minutes; whole potatoes for 10 minutes. Then they go into the jars hot.
- Cover With Fresh Boiling Water: Don’t use the water you cooked the potatoes in. It’s too starchy and can interfere with heat and liquid movement in the jar. Leave 1 inch of headspace, and make sure every piece of potato is under the water.
- Don’t Mash or Puree: Mashed potatoes, potato soup, and overcooked pieces that settle into a dense pack are not part of this process. Starch slows heat transfer, and those products have not been tested for home canning.
- Sweet Potatoes Are a Different Recipe: There is a tested pressure-canning method for sweet potatoes in liquid or syrup. USDA specifically says not to dry pack them either.
For equipment, I like a weighted- or dial-gauge canner that can hold a full load of quarts, like this Presto 16-quart pressure canner. It holds 7 quart jars or 10 pints, works on regular and smooth-top ranges, and is the size most homestead kitchens actually use. Pair it with Ball regular-mouth quart mason jars (a 12-pack with lids and bands) and a jar lifter, funnel, and bubble remover.
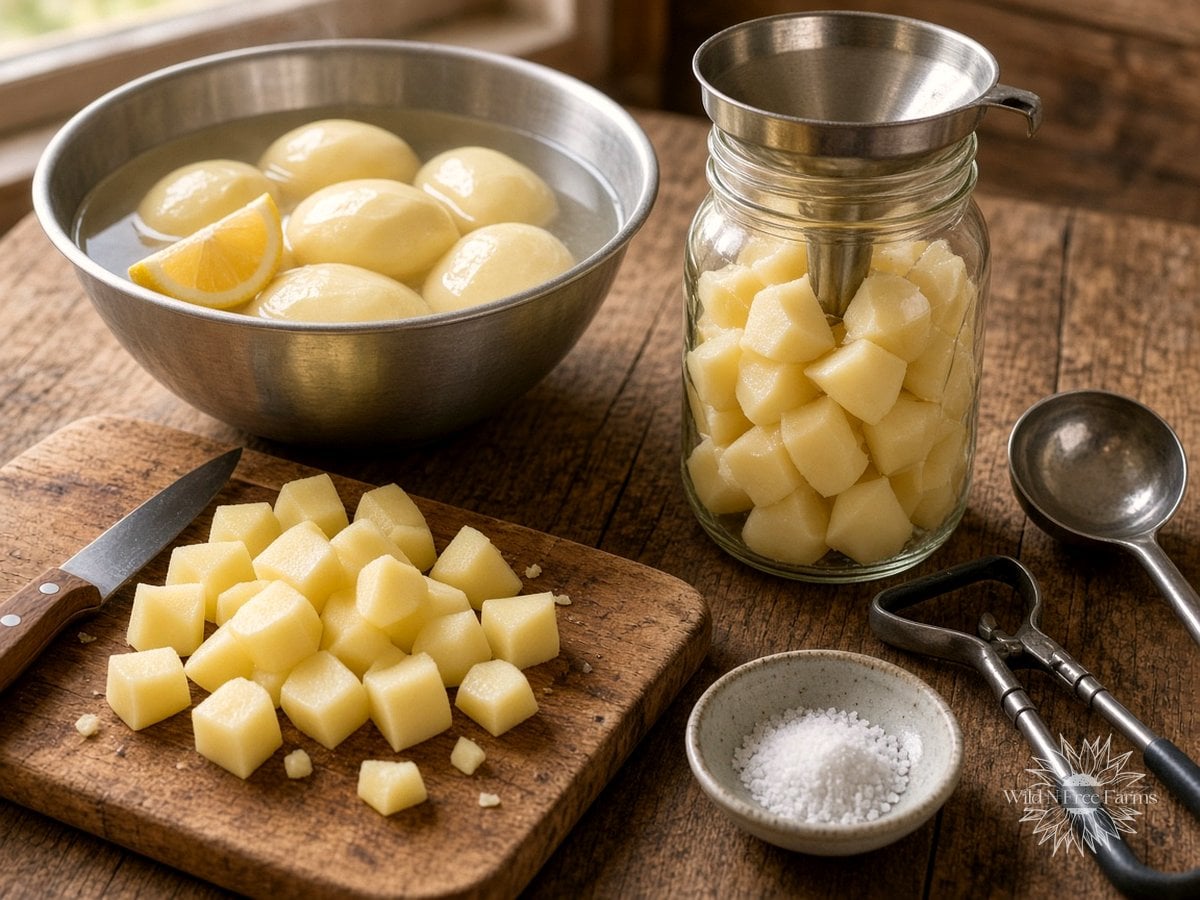
How to Pressure Can Potatoes, Step by Step
Full amounts and the process-time tables are in the recipe card below. Here’s the walk-through.
1. Prep the Potatoes
Wash and peel the potatoes, and drop them into a bowl of water with a little lemon juice or ascorbic acid so they don’t brown. Cut into 1/2-inch cubes, or leave 1- to 2-inch potatoes whole. Drain, then boil cubes for 2 minutes or whole potatoes for 10 minutes. Drain again.
2. Fill the Jars
Pack the hot potatoes into clean, hot canning jars. Add 1/2 teaspoon of canning salt per pint, or 1 teaspoon per quart, if you like (this is for flavor, not safety). Cover with fresh boiling water, leaving 1 inch of headspace, and make sure the potatoes are completely covered. Remove air bubbles, adjust the headspace if you need to, wipe the rims, and apply lids and bands fingertip tight.
3. Process in a Pressure Canner
Place the jars in a stovetop pressure canner with the amount of water your canner manual calls for. Vent the canner for 10 minutes, then bring it to the correct pressure for your elevation (the table is in the recipe card). Process pints for 35 minutes and quarts for 40 minutes. When the time is up, turn off the heat and let the canner depressurize naturally. Don’t rush it with a cold cloth or by running the canner under water.
4. Cool and Check the Seals
Wait 5 to 10 minutes, then remove the jars and let them cool, undisturbed, for 12 to 24 hours. Check the seals, remove the bands, wash the jars, label them, and store them in a cool, dark place. If a jar didn’t seal, refrigerate it and use it in the next few days, or reprocess it with a new lid within 24 hours.
With a dial-gauge canner, use 11 pounds of pressure at 0 to 2,000 feet, 12 pounds at 2,001 to 4,000 feet, 13 pounds at 4,001 to 6,000 feet, and 14 pounds at 6,001 to 8,000 feet. With a weighted-gauge canner, use 10 pounds at 0 to 1,000 feet and 15 pounds above 1,000 feet. Look up your elevation if you’re not sure, since plenty of towns sit just over 1,000 feet.

Your One Stop For Sourdough

Farm To Table recipes you’ll love!
Want More Homestead Inspired Recipes?
Check out our Recipe Index for delicious creations!
Other Safe Ways to Store Potatoes
Canning isn’t the only good option, and for a lot of the harvest I still prefer methods that keep a potato tasting like a potato.
- Root Cellar or Cool Storage: A dark, humid, chilly place (not the fridge) is still the gold standard. Our harvest, cure, and storage guide walks through it, and Root Cellar Crops You Can Grow Almost Anywhere has more crops that keep the same way.
- Freezing: Raw potatoes turn soft and grainy in the freezer. Cook or blanch them first, then freeze in meal-size portions as cubes, hash browns, or mashed potatoes for the weeks ahead.
- Dehydrating: Properly dried potato slices or shreds, stored in airtight containers, are a genuine pantry staple. That’s drying, though, not oven-sealing jars and calling it canning.
- Grow Varieties That Store Well: If you’re planning next year’s bed, start with the best potato varieties for a homestead garden and our potato growing guide.
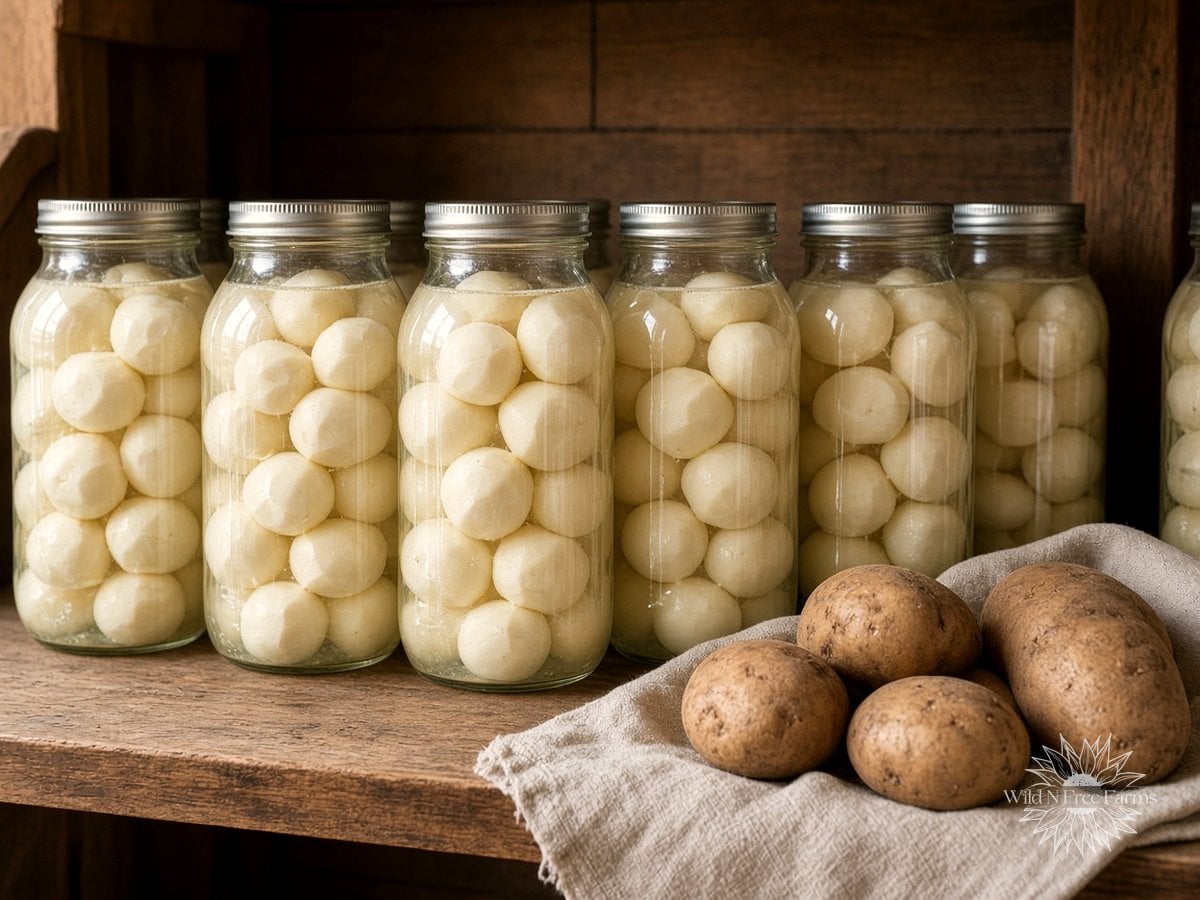
When I do can potatoes, this is the method I use. It’s the USDA process, written out in a recipe card so you can print it or scale it for a full canner load.
Pressure Canned Potatoes (USDA Method)
Equipment
- Stovetop pressure canner Dial- or weighted-gauge; must hold at least 4 quart jars upright on the rack
- Regular-mouth mason jars with new lids and bands Pints or quarts
- Jar lifter, canning funnel, and bubble remover
Ingredients
- 13 pounds potatoes for 9 pints, or 20 pounds for 7 quarts; small to medium mature white potatoes, 1 to 2 inches across if packing whole
- canning salt optional; 1/2 teaspoon per pint or 1 teaspoon per quart, for flavor only
- fresh boiling water to cover; do not use the potato cooking water
- lemon juice or ascorbic acid for a holding bowl of water to prevent browning
Instructions
- Wash and peel the potatoes. Keep them in a bowl of water with a little lemon juice or ascorbic acid so they don’t brown.
- Cut into 1/2-inch cubes, or leave 1- to 2-inch potatoes whole. Drain.
- Boil cubes for 2 minutes or whole potatoes for 10 minutes. Drain again. Do not mash or overcook.
- Pack the hot potatoes into clean, hot pint or quart canning jars. Add optional canning salt.
- Cover with fresh boiling water, leaving 1 inch of headspace, and make sure every piece of potato is under the water. Remove air bubbles and adjust the headspace if needed. Wipe rims and apply lids and bands fingertip tight.
- Place jars in a stovetop pressure canner with the amount of water your canner manual calls for. Vent the canner for 10 minutes, then bring it to the correct pressure for your elevation (see notes).
- Process pints for 35 minutes or quarts for 40 minutes. When the time is up, turn off the heat and let the canner depressurize naturally.
- Wait 5 to 10 minutes, then remove the jars and cool them, undisturbed, for 12 to 24 hours. Check the seals, remove the bands, wash, label, and store in a cool, dark place. Refrigerate or reprocess any unsealed jars within 24 hours.
Notes
Did you make this recipe? Don’t forget to share with me, @wildnfreefarm on Instagram, Pinterest, or Youtube! Tag us with #wildnfreefarms
Dry Canning Potatoes FAQ
Is dry canning potatoes safe?
No. The USDA and the National Center for Home Food Preservation say dry canning vegetables (packing them in jars without the liquid used in the tested process) is unsafe. Potatoes need to be pressure canned, peeled, hot-packed, and covered with fresh boiling water.
Why do people dry can potatoes then?
The jars look neat, the potatoes aren’t sitting in liquid, and the method gets shared as a time-saver. None of that changes the fact that the process wasn’t tested that way, and under-processed low-acid food carries a botulism risk.
Can you can potatoes in a water-bath canner?
No. Potatoes are a low-acid vegetable. Pressure canning is the only recommended method.
Can you can potatoes in an Instant Pot or other electric pressure cooker?
No. Electric multi-cookers, even the ones with a canning button, are not recommended for canning low-acid foods. Use a stovetop pressure canner that can hold at least four quart jars upright on the rack.
How long do you pressure can potatoes?
In the USDA method, hot-packed pints process for 35 minutes and quarts for 40 minutes, at the pressure that matches your canner type and elevation.
Do you have to peel potatoes before canning?
Yes. The tested process starts with washed, peeled potatoes.
Can you can mashed potatoes?
No. There is no tested home-canning process for mashed, pureed, or creamed potatoes. The starch packs too densely for the heat to move the way it needs to.
Put the Potatoes Up the Safe Way
I love a good homestead shortcut as much as anyone, but canning isn’t the place to invent one. The USDA method takes a little more water in the jar, and it gives you potatoes you can actually trust on a winter weeknight.
Peel them. Cover them. Pressure can them.
Sources
- National Center for Home Food Preservation. (2020, June 25). Dry Canning Raw Vegetables is an Unsafe Practice.
- National Center for Home Food Preservation. (2020, April 16). “Dry Canning” Isn’t Canning.
- National Center for Home Food Preservation. Equipment and Methods Not Recommended.
- National Center for Home Food Preservation. Potatoes, White – Cubed or Whole. Adapted from the USDA Complete Guide to Home Canning, Agriculture Information Bulletin No. 539, revised 2015.
- Centers for Disease Control and Prevention. Home-Canned Foods and Botulism.