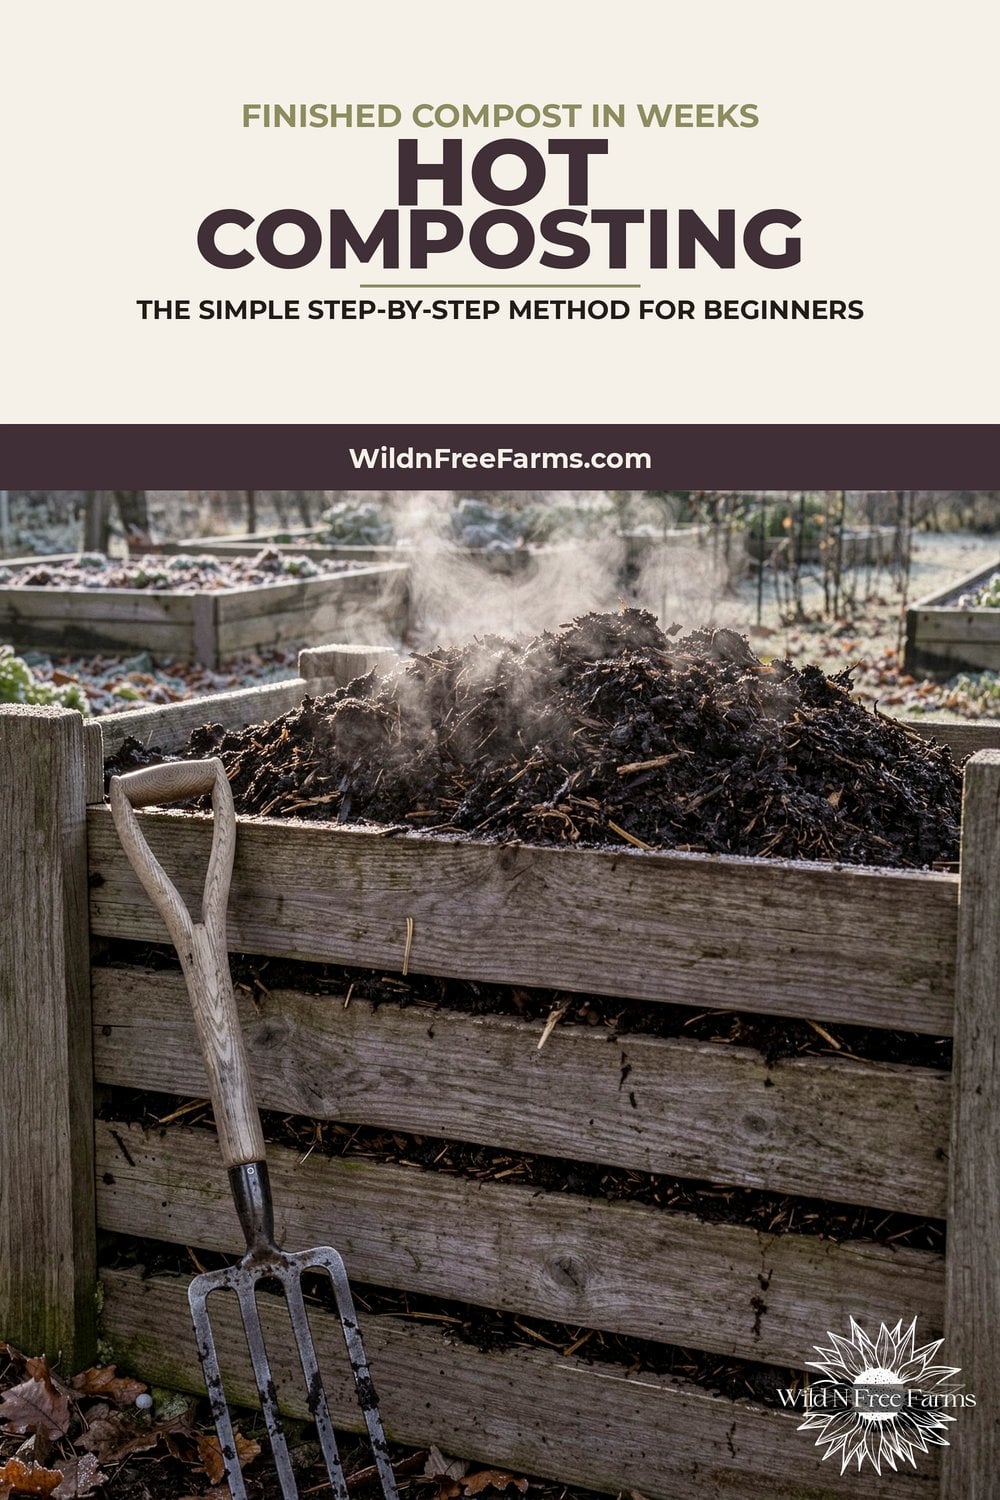
Hot Composting: How to Make Compost in Weeks, Not Months
If your compost pile has been sitting in the corner of the garden for a year and still looks like last summer’s kitchen scraps, it’s time to turn up the heat. Hot composting is a simple way to make rich, crumbly compost in a matter of weeks instead of months, and it kills most weed seeds along the way.
It does take a little more planning and a bit of muscle, but the method itself is easy. In this guide, you’ll learn how hot composting works, the right mix of materials, how to build and turn a hot pile step by step, and how to fix a pile that just won’t heat up.

Disclaimer
This post contains affiliate links. This means we may earn a commission should you choose to sign up for a program or make a purchase using these links. There is no added cost to you but your purchase through these links helps support our content! Not to worry- I truly believe in and/or use everything I promote! As an Amazon Associate I earn from qualifying purchases.
We also utilize advertisements on many of our articles. This is simply a way to help support all the work we do here at Wild N Free Farms, without adding any extra cost to our readers. Check out our disclaimer and disclosure page for more details.
Fall is the perfect time to start. Leaves are piling up, the garden is being cleaned out, and a hot pile built now can give you finished compost for spring planting.
What Is Hot Composting?
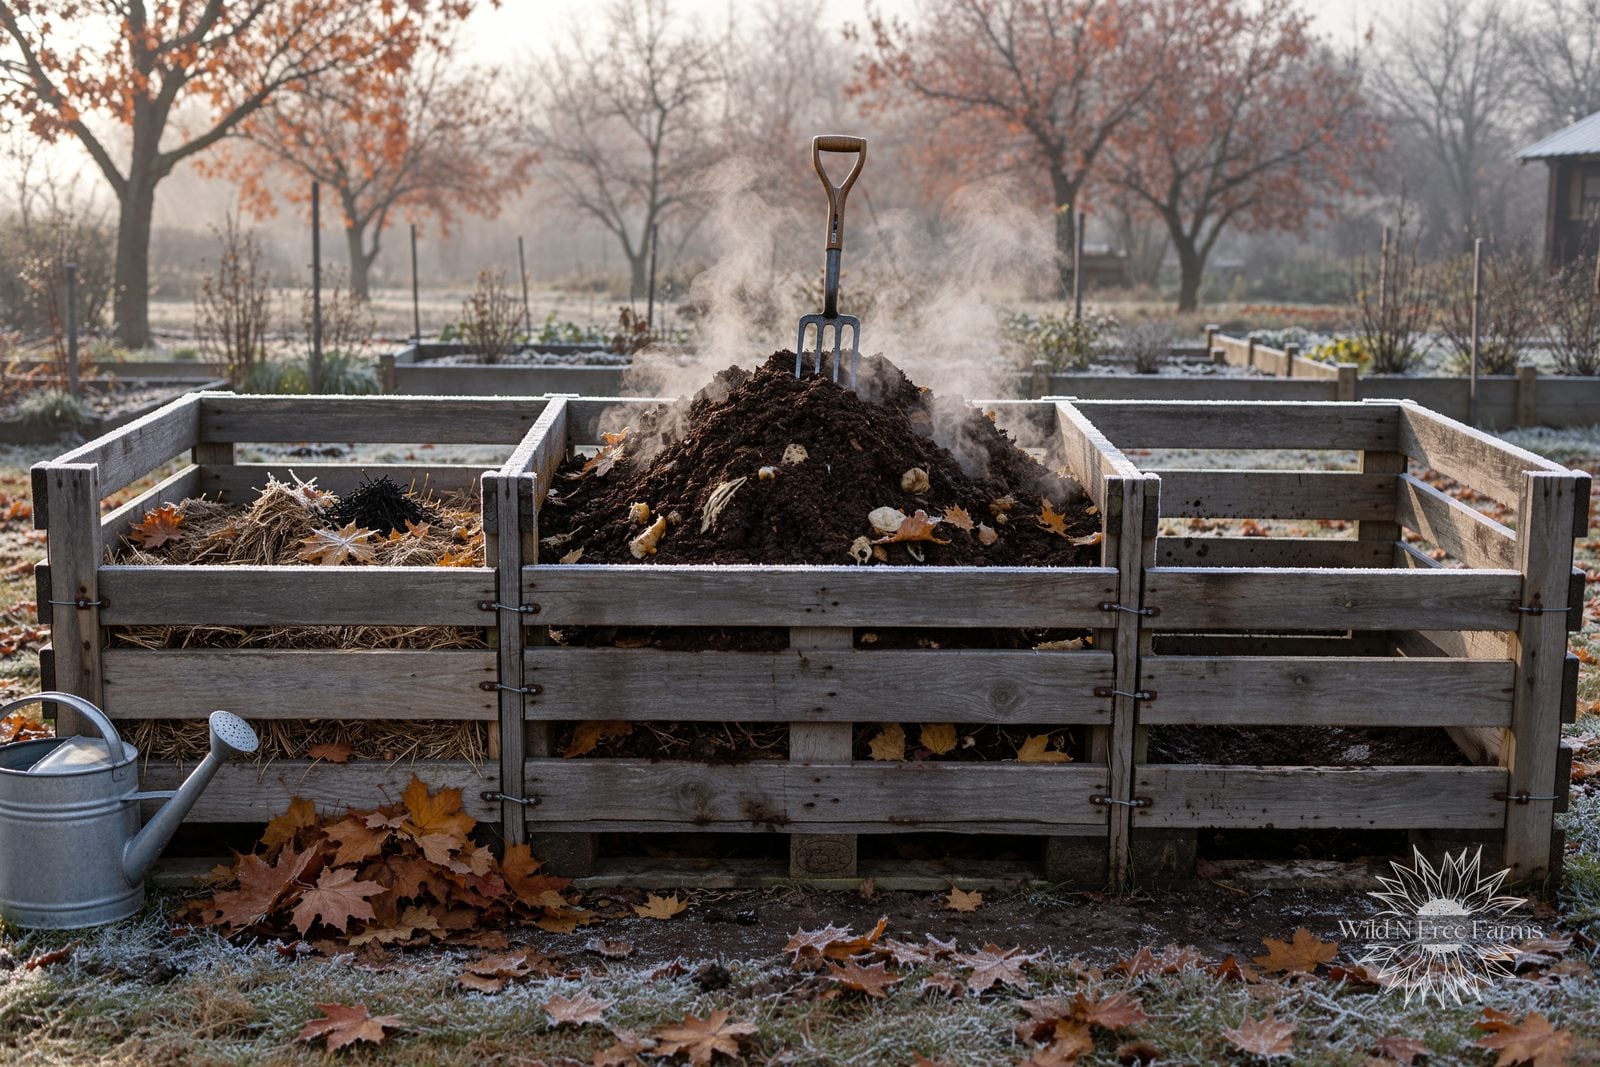
Hot composting is a way of building a compost pile all at once, with the right balance of materials, moisture, and air, so heat-loving microbes can take over. These microbes multiply so fast that the center of the pile heats up to 130°F or more. The Wisconsin DNR home composting guide notes that a well-built hot pile may reach 140°F or more, and that temperatures around 130°F can kill weed seeds and plant pathogens.
Cold composting, on the other hand, is the add-as-you-go pile most of us start with. It works, but it can take a year or more and it doesn’t get hot enough to kill weed seeds.
| Hot Composting | Cold Composting | |
|---|---|---|
| How It’s Built | All at once, in one batch | A little at a time |
| Pile Temperature | About 130 to 160°F | Close to outdoor temperature |
| Time to Finished Compost | About 1 to 3 months (plus curing) | 6 months to 2 years |
| Work Involved | Regular turning and checking | Very little |
| Weed Seeds and Pathogens | Mostly killed by the heat | Often survive |
Why Try Hot Composting?
- It’s Fast: You can have usable compost in weeks, not seasons.
- Fewer Weeds: The heat kills most weed seeds that would otherwise sprout in your beds.
- Fewer Plant Diseases: Many plant pathogens can’t survive a properly hot pile.
- Less Smell and Fewer Pests: A balanced, well-aerated pile smells earthy, not rotten.
- It Handles a Lot of Material: Perfect for fall leaves, garden cleanup, and coop bedding all at once.
For comparison, the USDA organic standards require compost made in a static or in-vessel system to stay between 131 and 170°F for 3 days to reduce pathogens. That’s the same “hot zone” home composters aim for.
What You Need for a Hot Compost Pile
- Enough Material: A pile needs to be at least 1 cubic yard (about 3 feet tall, wide, and deep) to build and hold heat, according to the Wisconsin DNR. Smaller piles usually stay cool.
- A Spot or a Bin: An open pile works, but a three-bin system made from pallets or boards makes turning much easier. You simply fork the pile from one bin into the next.
- A Compost Thermometer: A long-stem thermometer like this 20-inch backyard compost thermometer takes the guesswork out of when to turn.
- A Garden Fork or Pitchfork: For turning and fluffing the pile.
- A Hose or Watering Can: Moisture is just as important as the materials.
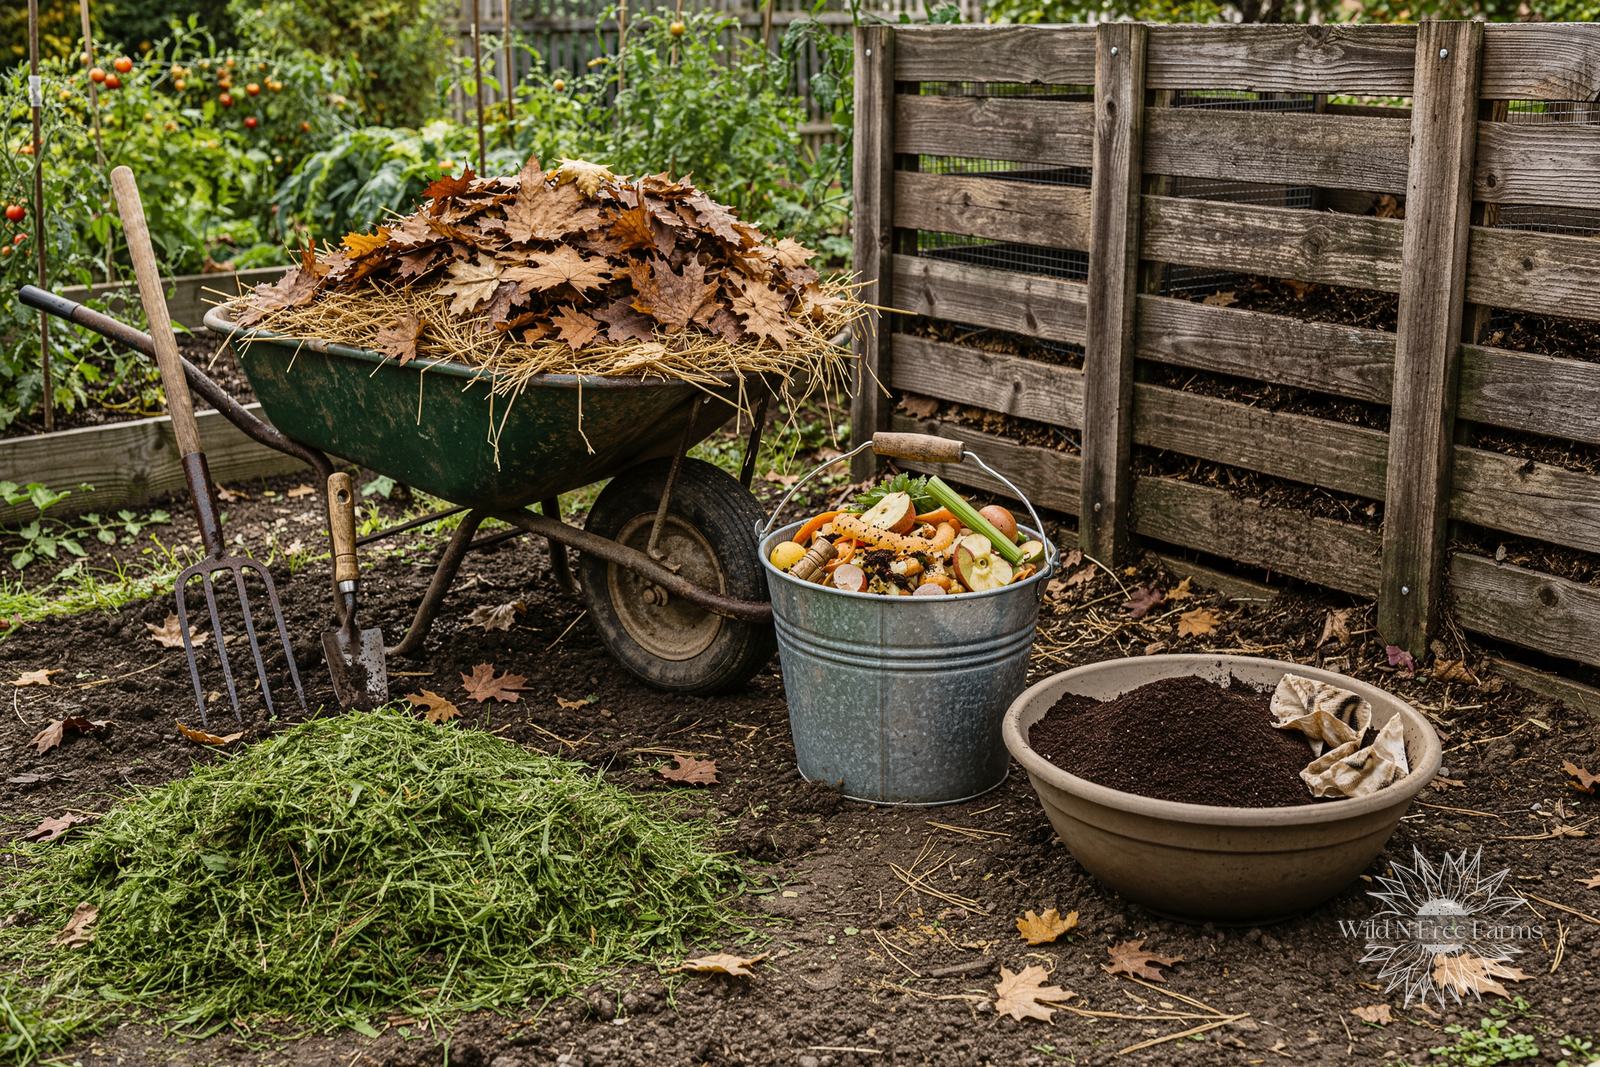
The Right Mix: Greens and Browns for Hot Composting
Every hot pile needs two kinds of material. “Browns” are high in carbon, like dry leaves and straw. “Greens” are high in nitrogen, like grass clippings, kitchen scraps, and fresh manure. The University of Florida IFAS Extension explains that scientists aim for a carbon-to-nitrogen (C:N) ratio of about 30 to 1.
You don’t need to do math to get close. The Wisconsin DNR suggests about two parts browns to one part greens by volume when you build a hot pile. Here are approximate C:N ratios for common materials, from the UF/IFAS chart:
| Material | Type | Approximate C:N Ratio |
|---|---|---|
| Vegetable trimmings | Green | 12 to 20:1 |
| Table scraps | Green | 15:1 |
| Coffee grounds | Green | 20:1 |
| Grass clippings | Green | 20:1 |
| Cow manure | Green | 20:1 |
| Fruit waste | Green | 35:1 |
| Leaves | Brown | 60:1 |
| Corn stalks | Brown | 60:1 |
| Straw | Brown | 80 to 100:1 |
| Sawdust | Brown | Up to 600:1 (use sparingly) |
Chicken manure and used coop bedding are one of the best “engines” for a hot pile. The manure brings the nitrogen and the shavings or straw bring the carbon. Our guide on how to safely use chicken manure in the garden walks through it. For a refresher on the basics, see our composting for beginners guide.
Stay Up To Date
Enter your name and email to subscribe to our weekly newsletter, announements and freebies!
How to Build a Hot Compost Pile Step by Step
1. Gather Everything First
Hot composting works best when you build the whole pile in one go. Stockpile your browns (bagged leaves are perfect) and save up greens for a week or two, or plan your build for the day you mow, clean the coop, or pull the garden.
2. Chop Materials Small
Smaller pieces give microbes more surface area and break down much faster. Run leaves over with a mower, and chop thick stalks and large scraps into pieces a few inches long.
3. Start With a Coarse Base
Lay down a few inches of coarse, twiggy material or straw at the bottom. It lets air flow up into the pile from below.
4. Layer or Mix Greens and Browns
Add materials in roughly two parts browns to one part greens. You can build in thin layers, like a lasagna, or simply mix everything together as you go. Mixing tends to heat up faster. Toss in a shovelful of finished compost or garden soil to bring in a healthy population of microbes.
5. Water as You Build
Wet each layer as you add it. The materials should feel like a wrung-out sponge: damp all the way through, but not dripping. The UF/IFAS Extension warns that soggy piles compact and lose air, which leads to slow, smelly composting.
6. Check the Temperature
Within one to three days, the center of a well-built pile should start to heat up. Push your thermometer into the middle of the pile and check it every day or two. Once it climbs into the 130s and 140s, you know your microbes are hard at work.
7. Turn the Pile
Turning brings fresh air into the center and moves the cooler outside material into the hot middle. Oklahoma State University Extension recommends turning an actively hot pile every three to four days, or when the temperature drops below about 104°F. As you turn, check the moisture and add water if the inside looks dry.
After each turn, the pile should heat back up. When it stops reheating after a turn, the active stage is done.
8. Let It Cure
Even after the heat fades, compost keeps maturing. Let the pile sit for at least a few more weeks to cure before using it around tender plants. Curing lets the compost settle down so it won’t rob nitrogen from the soil or burn young roots.
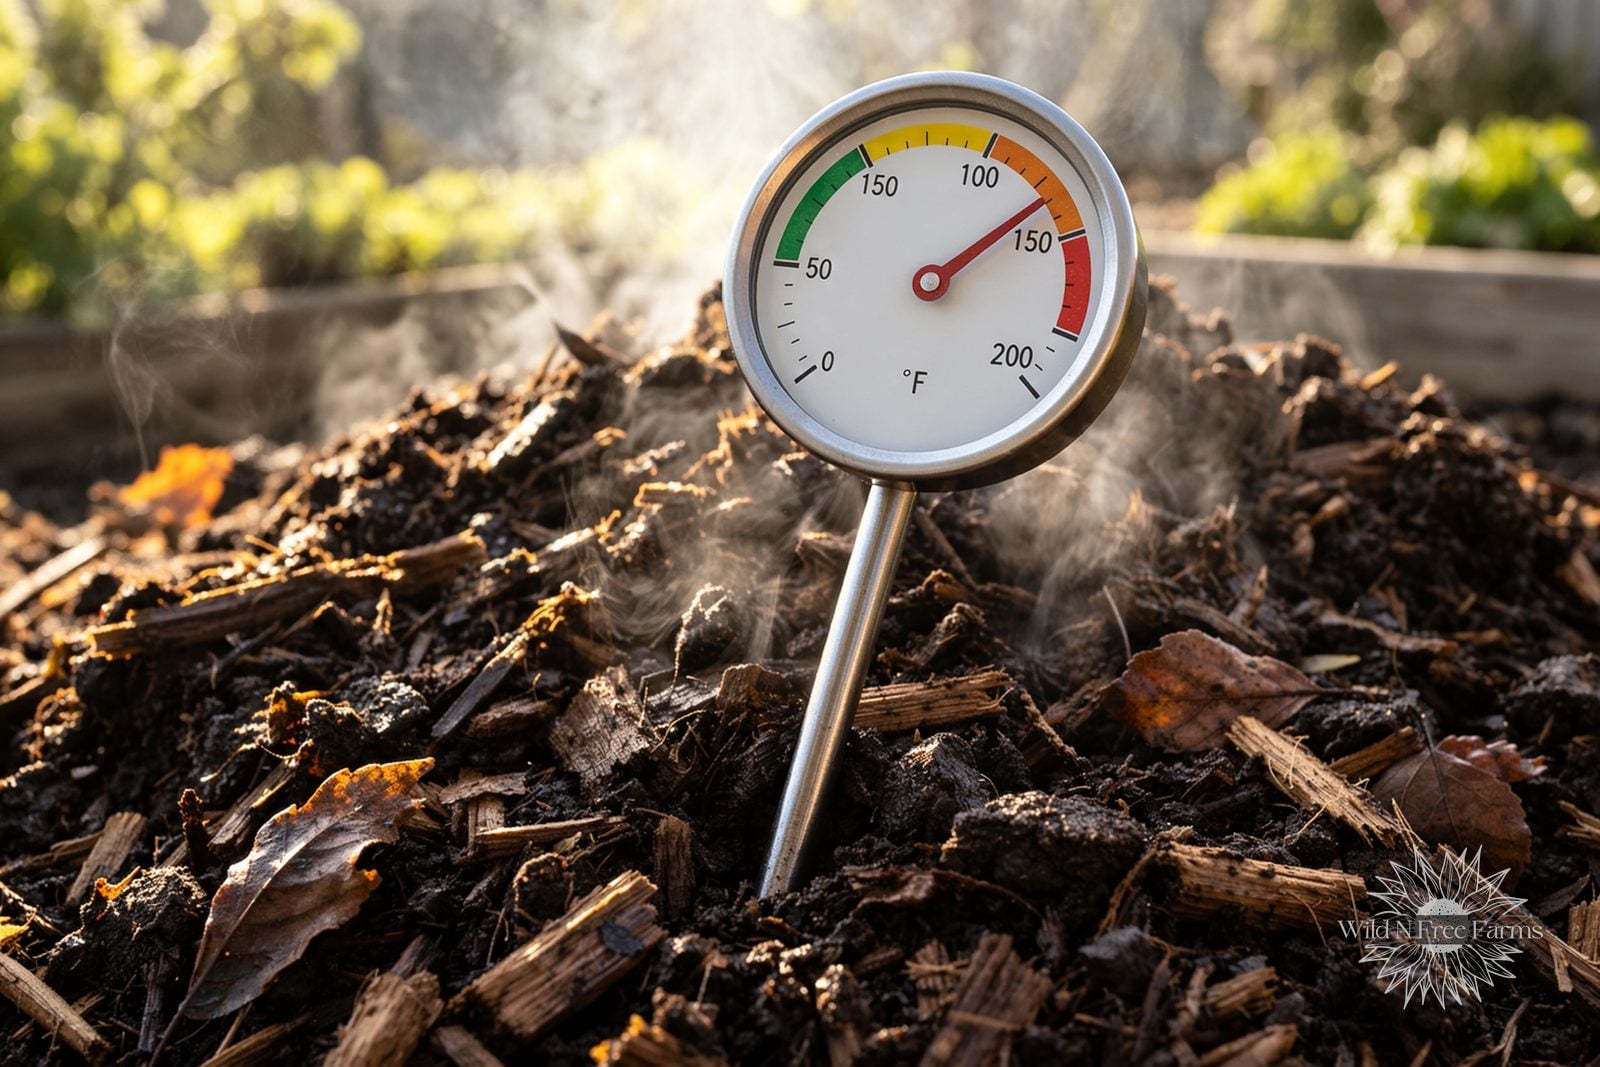
Hot Compost Temperature Guide
| Pile Temperature | What It Means | What to Do |
|---|---|---|
| Below 90°F | Microbes aren’t very active | Add greens, check moisture, and turn |
| 90 to 130°F | Warming up or cooling down | Turn to recharge with air, then wait |
| 131 to 160°F | The sweet spot for hot composting | Leave it, then turn every 3 to 4 days |
| Above 160°F | Too hot, and beneficial microbes start dying off | Turn right away and add browns |
The Oregon State University Extension lists 130 to 150°F as the ideal range for effective composting. Don’t panic if your pile never hits the perfect number. As the UF/IFAS team puts it, compost happens at all temperatures. A cooler pile just takes longer.
What About the 18-Day Method?
You may have heard of the “18-day” or Berkeley method. It’s simply a very intense version of hot composting: a carefully balanced pile of finely chopped material that’s left for four days, then turned every other day until it’s done. It can work beautifully, but it takes a lot of turning. For most homesteads, turning every few days and having finished compost in one to three months is a good, realistic goal.
Troubleshooting a Hot Compost Pile
| Problem | Likely Cause | Fix |
|---|---|---|
| Pile won’t heat up | Too small, too dry, or not enough greens | Build it to at least 3x3x3 feet, add water, and mix in fresh greens or manure |
| Smells like ammonia | Too many greens | Mix in dry leaves, straw, or shredded cardboard |
| Smells rotten or sour | Too wet or packed down | Turn it and add coarse, dry browns |
| Hot in the middle, cold on the edges | Normal for an unturned pile | Turn so the outside goes into the center |
| Cools off fast in winter | Heat is escaping | Build it bigger and insulate with straw bales or a tarp |
| Lots of flies or critters | Food scraps exposed on top | Bury scraps in the center and top with browns |
Composting through the cold months? A bigger pile helps it insulate itself, and our guide to winter composting covers the rest.
What Not to Put in a Hot Compost Pile
Even a hot pile doesn’t heat evenly all the way to the edges, so leave these out:
- Meat, Bones, Dairy, and Oils: They attract pests and can turn smelly.
- Dog and Cat Waste: It can carry parasites and pathogens that don’t belong near food crops.
- Badly Diseased Plants: When in doubt, throw them out rather than risk spreading blight.
- Weeds That Have Gone to Seed, Unless Your Pile Stays Hot: Bury them in the very center, or leave them out.
- Hay, Straw, Grass, or Manure Treated With Persistent Herbicides: Some broadleaf herbicides survive composting and can damage tomatoes, beans, and other garden plants. Ask about herbicide use before you bring in outside hay, straw, or manure.
How to Tell When Hot Compost Is Ready
Finished compost is dark brown, crumbly, and smells like a forest floor. You shouldn’t be able to recognize most of what went in, aside from a few twigs or eggshell bits. One more test: turn the pile and wait a few days. If it doesn’t heat back up, it’s finished and ready to cure.
Ways to Use Your Hot Compost
- Top-Dress Garden Beds: Spread 1 to 3 inches over your beds in fall or early spring.
- Build Better Soil: Compost is the fastest way to improve heavy clay or sandy ground. Learn more in our guide to building loam soil.
- Mix Into Potting Soil: Screen it and blend it into containers and seed-starting mixes.
- Brew Compost Tea: Steep a bucket of finished compost to make nutrient-rich compost tea for your plants.
- Mulch Around Perennials: A ring of compost around berries, fruit trees, and herbs feeds them slowly all season.
Introducing my new ebook
Seed Starting For Success
Discover the secrets of a stress free seed starting adventure
Grow strong, healthy seedlings without the guesswork. You get the full ebook plus a seed starting schedule, a when-to-start-indoors list, and an indoor vs. direct sowing guide.
$14.99 · instant digital download

Hot Composting FAQ
How long does hot composting take?
A well-built, regularly turned hot pile is usually done with its active stage in about 1 to 3 months, depending on the materials and the weather. Add a few weeks of curing after that before using it on seedlings.
Can you hot compost in winter?
Yes, but it’s harder. The Oregon State University Extension recommends a pile of at least 1 cubic yard in winter, a compost thermometer, and straw or hay bales around the pile to insulate it from cold winds. Bigger is better in cold weather.
Do I really need a compost thermometer?
You can hot compost without one. Steam rising on a cold morning and a center that feels hot to your hand are good signs. A thermometer just tells you exactly when to turn and whether your pile is getting hot enough to kill weed seeds.
Can you hot compost in a tumbler?
Tumblers are easy to turn, and Oklahoma State research found that turning a tumbler twice a week led to higher temperatures and faster breakdown than turning it less often. Smaller tumblers lose heat quickly, though, so they rarely stay as hot as a full cubic-yard pile.
Does hot composting kill weed seeds?
Most of them, if the pile gets hot enough and every part of it spends time in the hot center. The UF/IFAS Extension says a minimum of 131°F for three days is the goal to destroy weed seeds and plant pathogens, which is why regular turning matters.
Turn Up the Heat This Season
Hot composting turns a season’s worth of leaves, scraps, and coop cleanings into black gold in a fraction of the time. Build one good pile this fall, keep an eye on the thermometer, and give it a turn every few days. By the time seed-starting season arrives, you’ll have a wheelbarrow full of rich compost waiting for your garden.
Sources
- Wisconsin Department of Natural Resources. Home Composting: The Complete Composter.
- University of Florida IFAS Extension, Sarasota County. Elements of Composting.
- Oklahoma State University Extension. Compost Turning: The Key to Quick Composting.
- Oregon State University Extension Service. Keep the Compost Cooking on the Farm This Winter (EM 9660).
- USDA Agricultural Marketing Service. Soil Building: Manures and Composts.